Both the Slide Show 4 skin, the FancyBox skin and the PhotoSwipe skin makes it possible to expand slides of panoramic pictures:

If you click the gray expand button above this picture, the image is enlarged, so that the whole window height is filled by the picture:
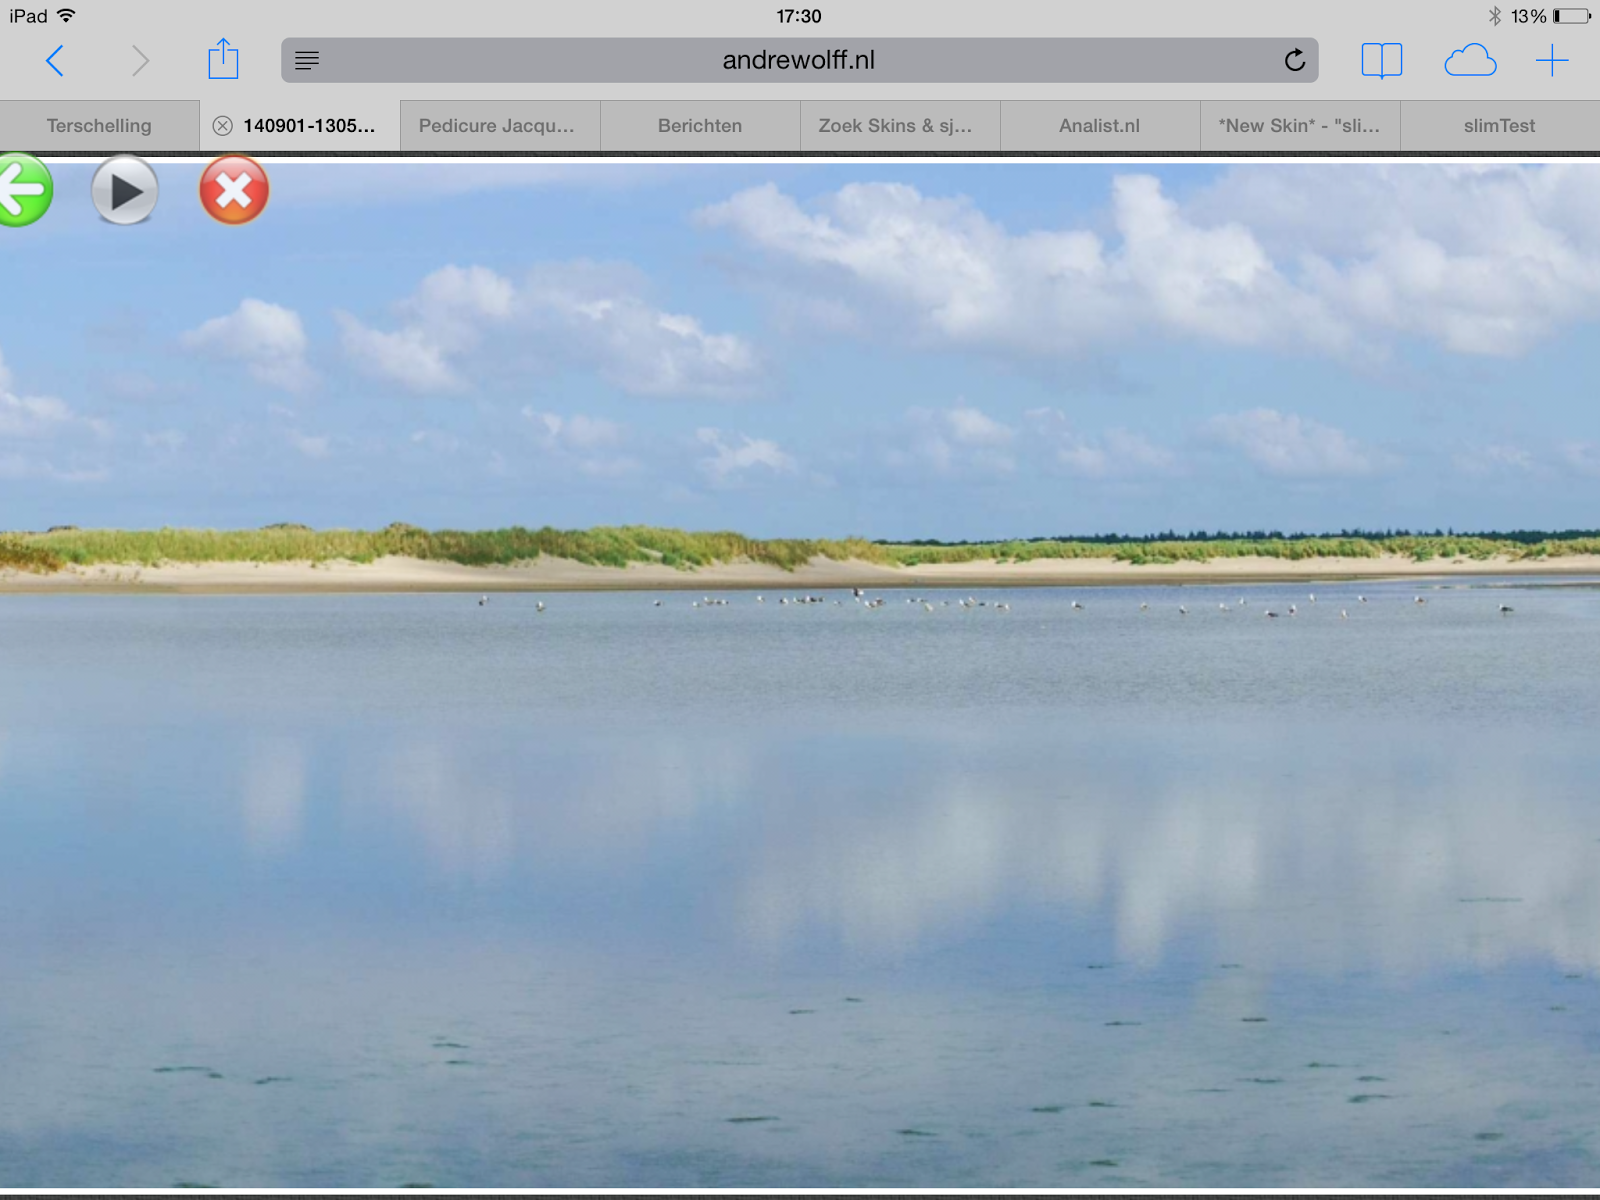
You can scroll horizontally through the picture with the mouse on a PC or with your fingers on a tablet or mobile phone.
To try it yourself, open my Terschelling album and click next the folder West-Terschelling and click there on the 25th thumbnail to open the panoramic picture shown above.
See also this album with only panoramic pictures.
Normally I use as image bounds for the slides HD quality 1920x1080. But this gives for panoramic pictures which are expanded to the screen height sometimes a bad quality image. So before I create the final version of an album, I open each panoramic image in jAlbum's Explorer next I click in the right panel on the triangle before Panoramic image select depending on the type of panorama the 'Spherical panoramic image' check-box or the 'Cylindrical panoramic image' check-box. In case you made a 360° cylindrical panorama, you should also select the '360° panorama'.
You should see a window like this:

Next clear check-box 'Progressive mode' on Album Setting / Images /Advanced:

If you don't do this, the panoramic pictures can't be displayed on an iPhone or iPad.
Next (re-) create the album by selecting 'Make All' (Shift+F9), all slides will be made in the defined default size (1920x1080 in my case), except the panoramic picture which has been edited. The height of the panoramic picture is set to 1080 pixels; the width depends on the aspect ratio of the panoramic picture, but if the width exceeds 30000 pixels, it is limited to 30000 and the height is made smaller as 1080 pixels. In the example above, the width is 6791 pixels.
I stitch my panorama photo's with program autopano pro or with Lightroom 6, which makes it also possible to generate 360° panoramas. As an example go to my West-Terschelling folder as indicated above and click on the 3th thumbnail. Next you see the whole compressed panoramic picture:

To expand it, click the 360Cities button and next the expand button in the right corner. The whole screen will be filled with your panorama and you can scroll through the panorama with the mouse or with your fingers.
If you stitch this with program autopano pro it is imprtant that you see that the range in the detected panorama is 360°:

In the rigth panel you should see behind “FOV” 360.00
After you created the panorama you can upload it to the 360Cities site. Before you can do that you should create an account on 360Cities.
Once the panorama is uploaded and published, click on the View button in your profile of published images and copy the URL of the panorama to the clipboard.
Next open edit image window in jAlbum for the corresponding picture and click the Link arrow in the right panel:

Next past the URL of the panorama into the URL field of the link panel and check check-mark "Link to an external panorama picture page, ...".
Finally create the album.
Geen opmerkingen:
Een reactie posten